DIY Kids Homeschool School Year Placemats Easy Art Project
One of my favorite ways to start off the school year is to have my kids make their own placemat for the year. These placemats are made using a white poster board divided into two placemats. Children can decorate the front of their placemats in a variety of ways: by coloring, painting, and adding stickers or magazine clippings. Then the child’s name is added to the top of the placemat, as well as any other educational items the child will be working on for the year, such as shapes, colors, or the alphabet. The placemat is then covered in contact paper to preserve it for the school year.
Have fun collecting materials for decorating the mat and printing out educational materials to customize your own DIY placemats. These mats can be made reversible, and because they are laminated, you can use dry-erase markers on them, making them perfect for adding drills or a school schedule if you desire.
These mats make a perfect yearly tradition. Start the new school year by having your child make their own placemat. Do not forget to take pictures of your child’s mat. It is fun to look back at pictures of the children’s placemats and see how they change each year.
Makes 2 Reversible placemats
For ages 2-18+
Needed Supplies
Materials
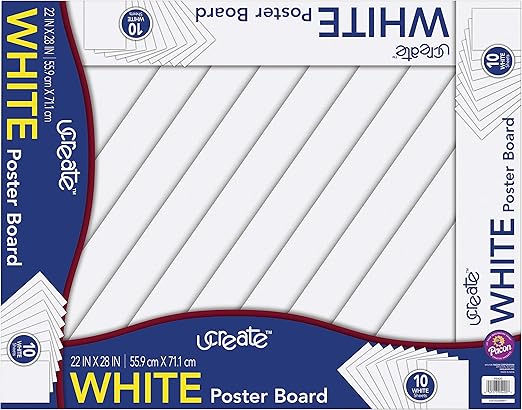
- White poster board (makes two placemats) or a thick, large piece of paper (watercolor paper or mixed media paper)
- Stickers (opt.)
- Paper nameplate (opt.)
- Printed teaching materials (opt.)
- Clear adhesive contact paper, or take your project in to be laminated
Tools
- Pencil
- Craft Supplies: markers, crayons, watercolor, or colored pencils
- Glue stick
- Ruler or measuring tape
- Scissors
What kind of paper do you need?
These are made using poster board that is cut in half to make two placemats. You can use any thick paper in the desired size of your choosing. I have also made these using a large sheet of watercolor paper or mixed media paper to make one placemat. Look into these options and find the perfect size for your needs.
What to include on the placemat?
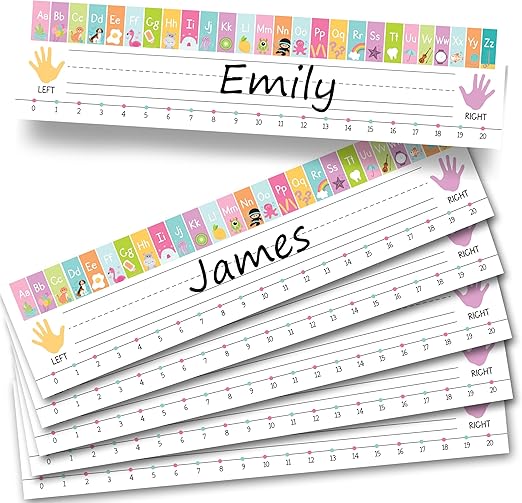
For young children, I like to use a nametag or lined paper to write their name on so they can see how their name is to be written. I also like to include teaching aids that we will be using during the year, such as a number line, alphabet, drills, a map, or a school schedule.
Can older kids make these?
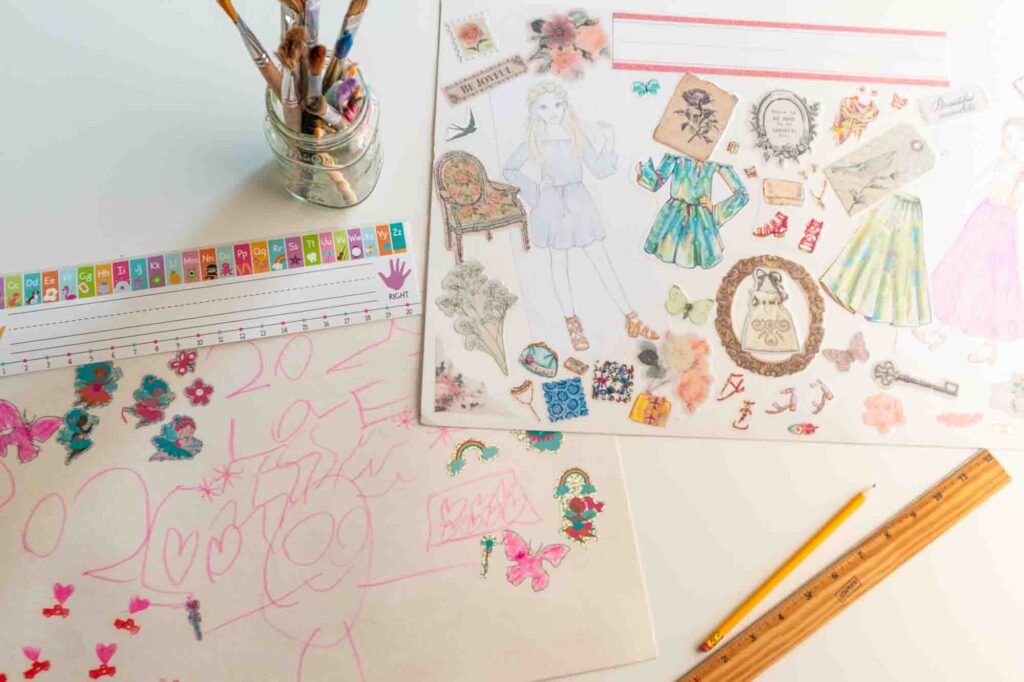
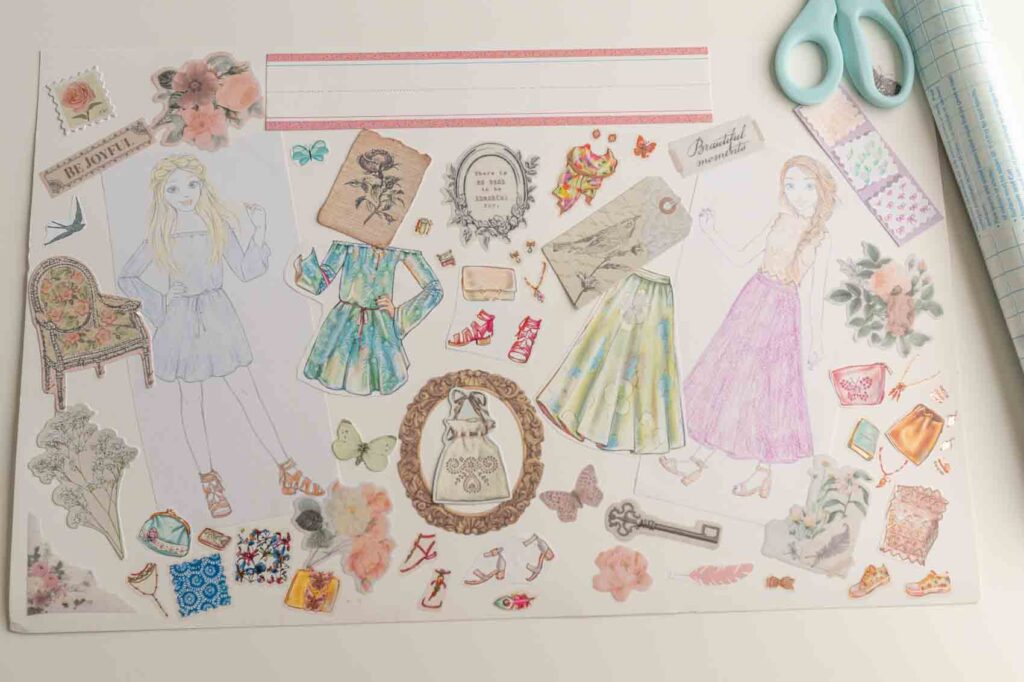
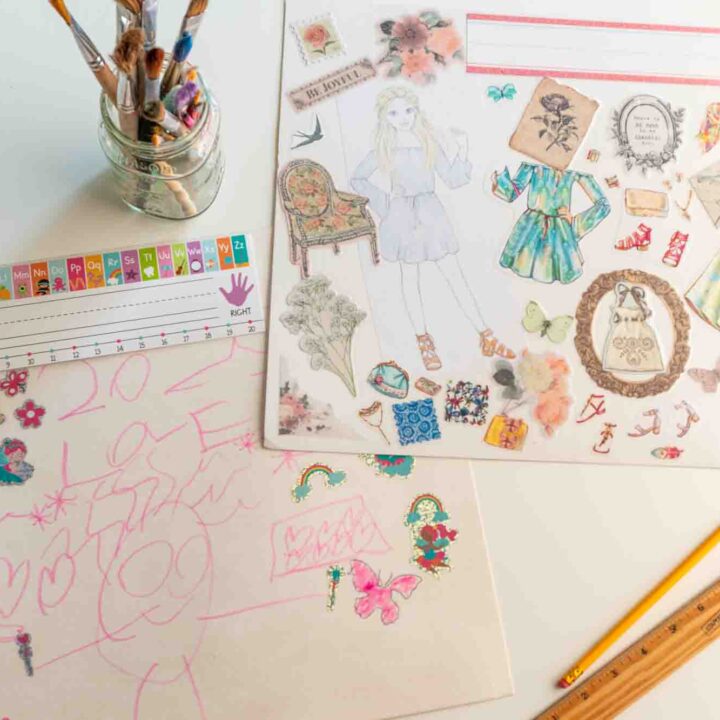
This project is perfect for children 2-18 as it can be adjusted to their age. For older children and teens, the placemat can be made into a vision board for the year with magazine clippings, drawings, and clipart. Your child can place a blueprint drawing, model car, or any other artwork they like. This truly is customizable and can be tailored to your child’s interests and educational needs. Get creative and have fun!
Lamination options
Clear contact paper works well for this project, as it is an inexpensive option to protect your placemat. You can pay for your placemat to be laminated, but as these placemats are to be used for one school year, it may not make sense if it is pricey.
Placemat Ideas and Variations
- Basic placemat template, artwork, and name on top, with educational sheets on the back of the placemat.
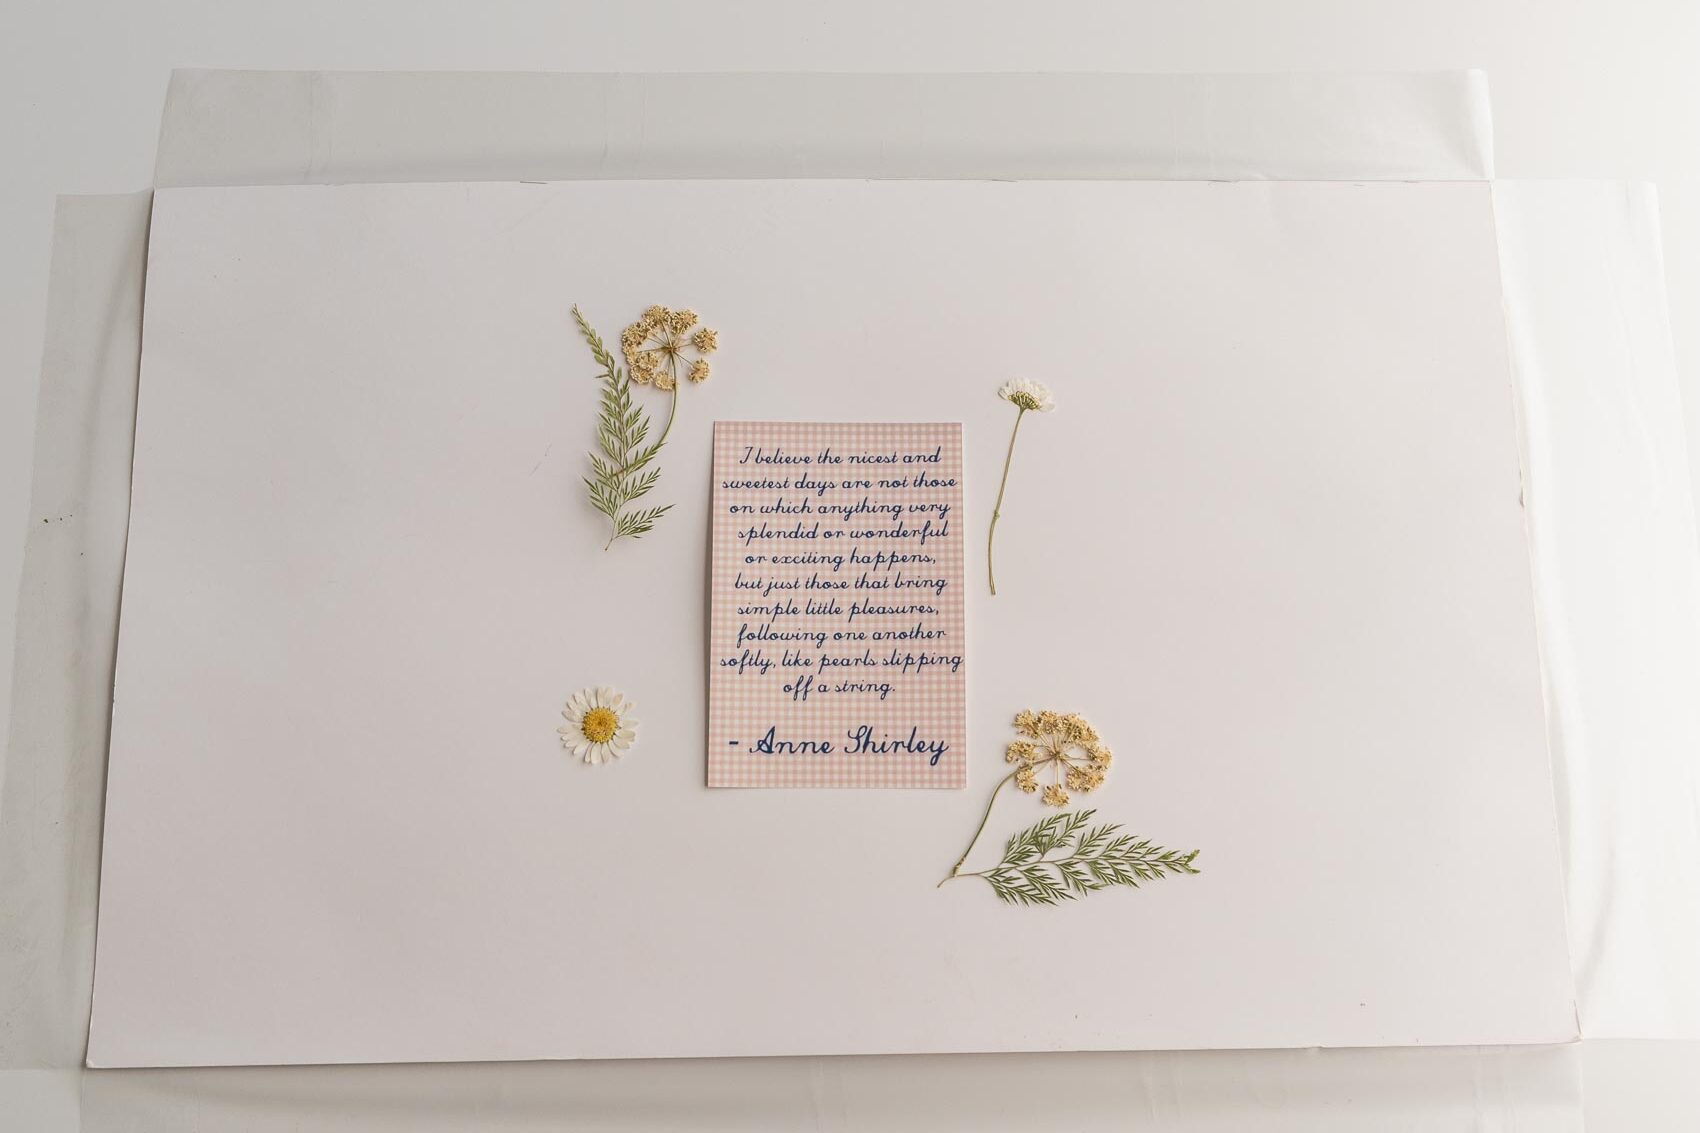
- Make watercolor placemats by having your child watercolor on the top of the placemat.
- Make a vision board placemat by using magazine cutouts, markers, and stickers, instead of drawing a picture on the front of the placemat.
- Have your child decorate their placemat with their favorite items: cars, trucks, unicorns, etc.
- Make scenes of castles, parking garages, or farms.
- Have your child draw a blueprint of their house or other building of choice.
- For colorful placemats, choose colored poster board paper and use magazine cutouts and bold markers.
Have fun with these kids’ placemats, provide craft supplies, and let your child create!
Step-By-Step Instructions
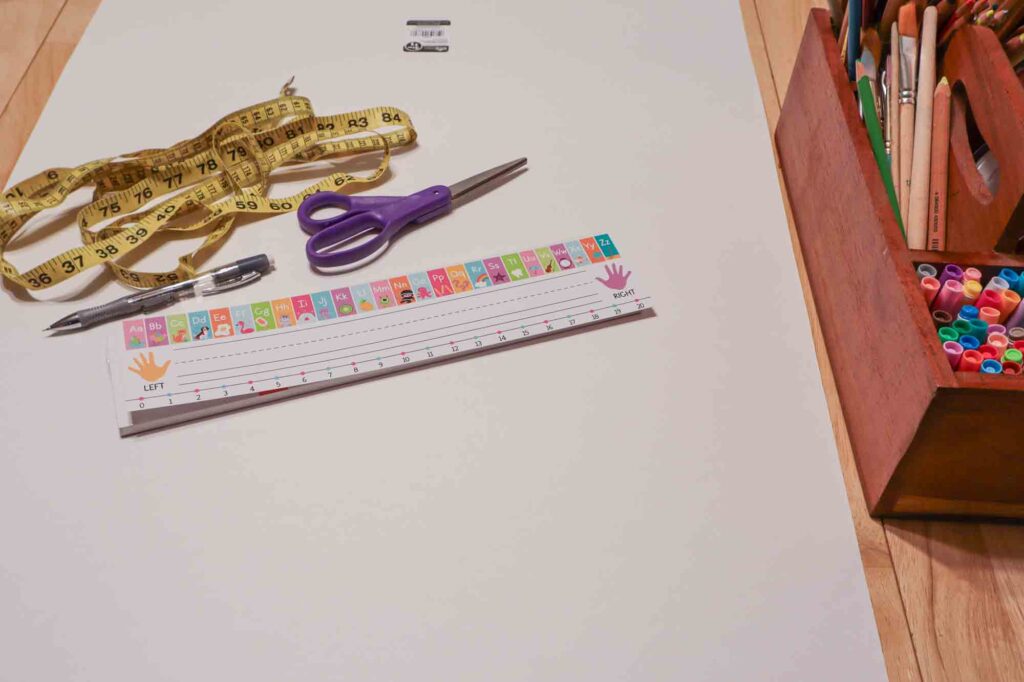
- Divide The Poster Board In Half
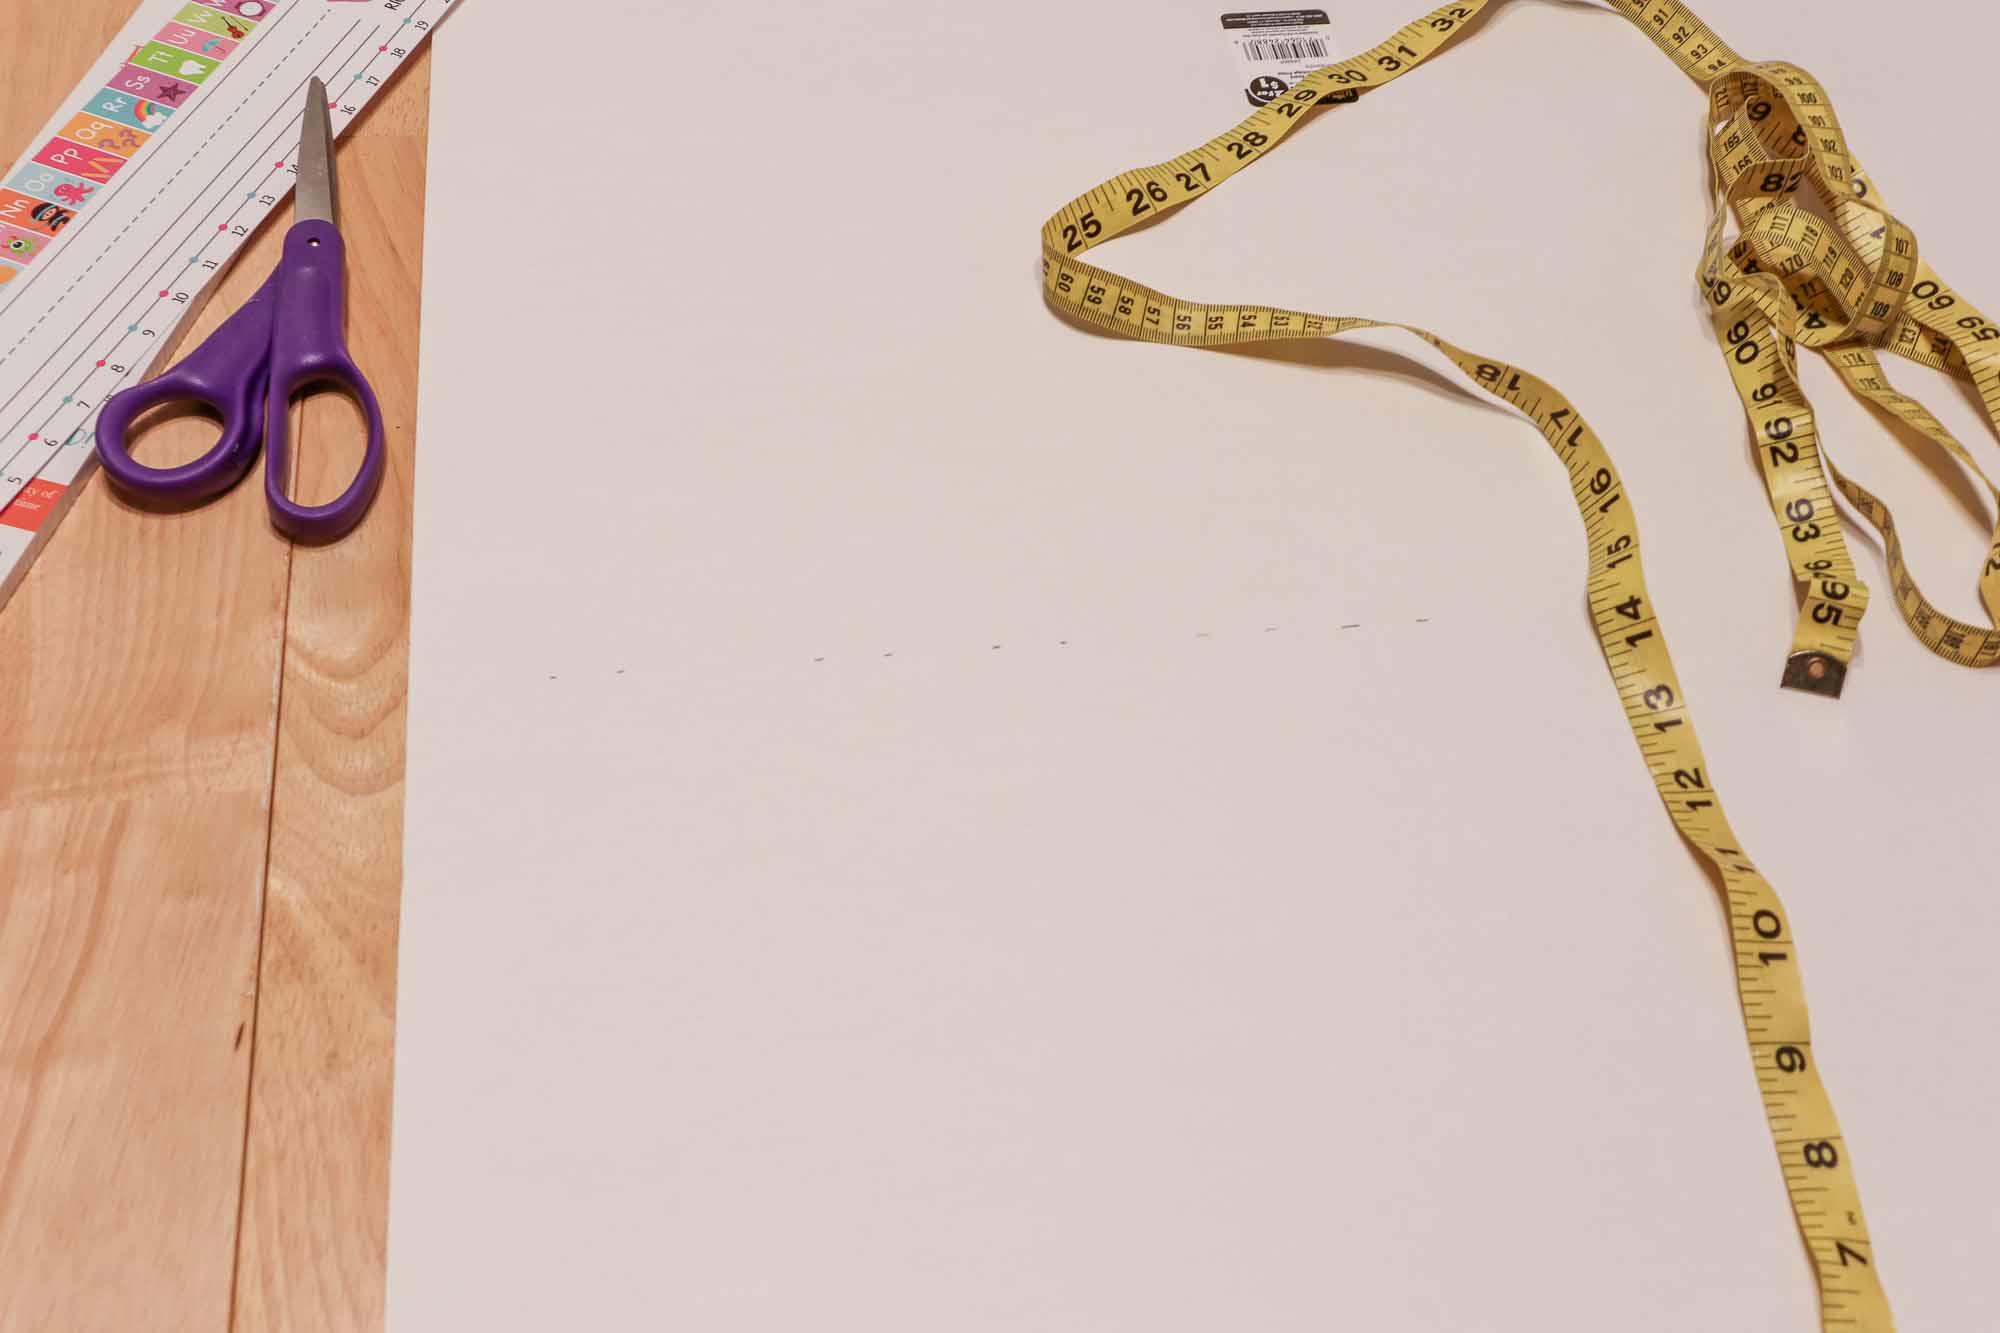
Start by measuring to find the middle of the longest side of your poster board (14 inches). Then measure along the bottom of the paper to the middle, making marks with your pencil for cutting as you measure out the halfway mark with your measuring tape. Once you have enough marks to cut a straight line through the poster board, cut along your measured lines to separate the two placemats.
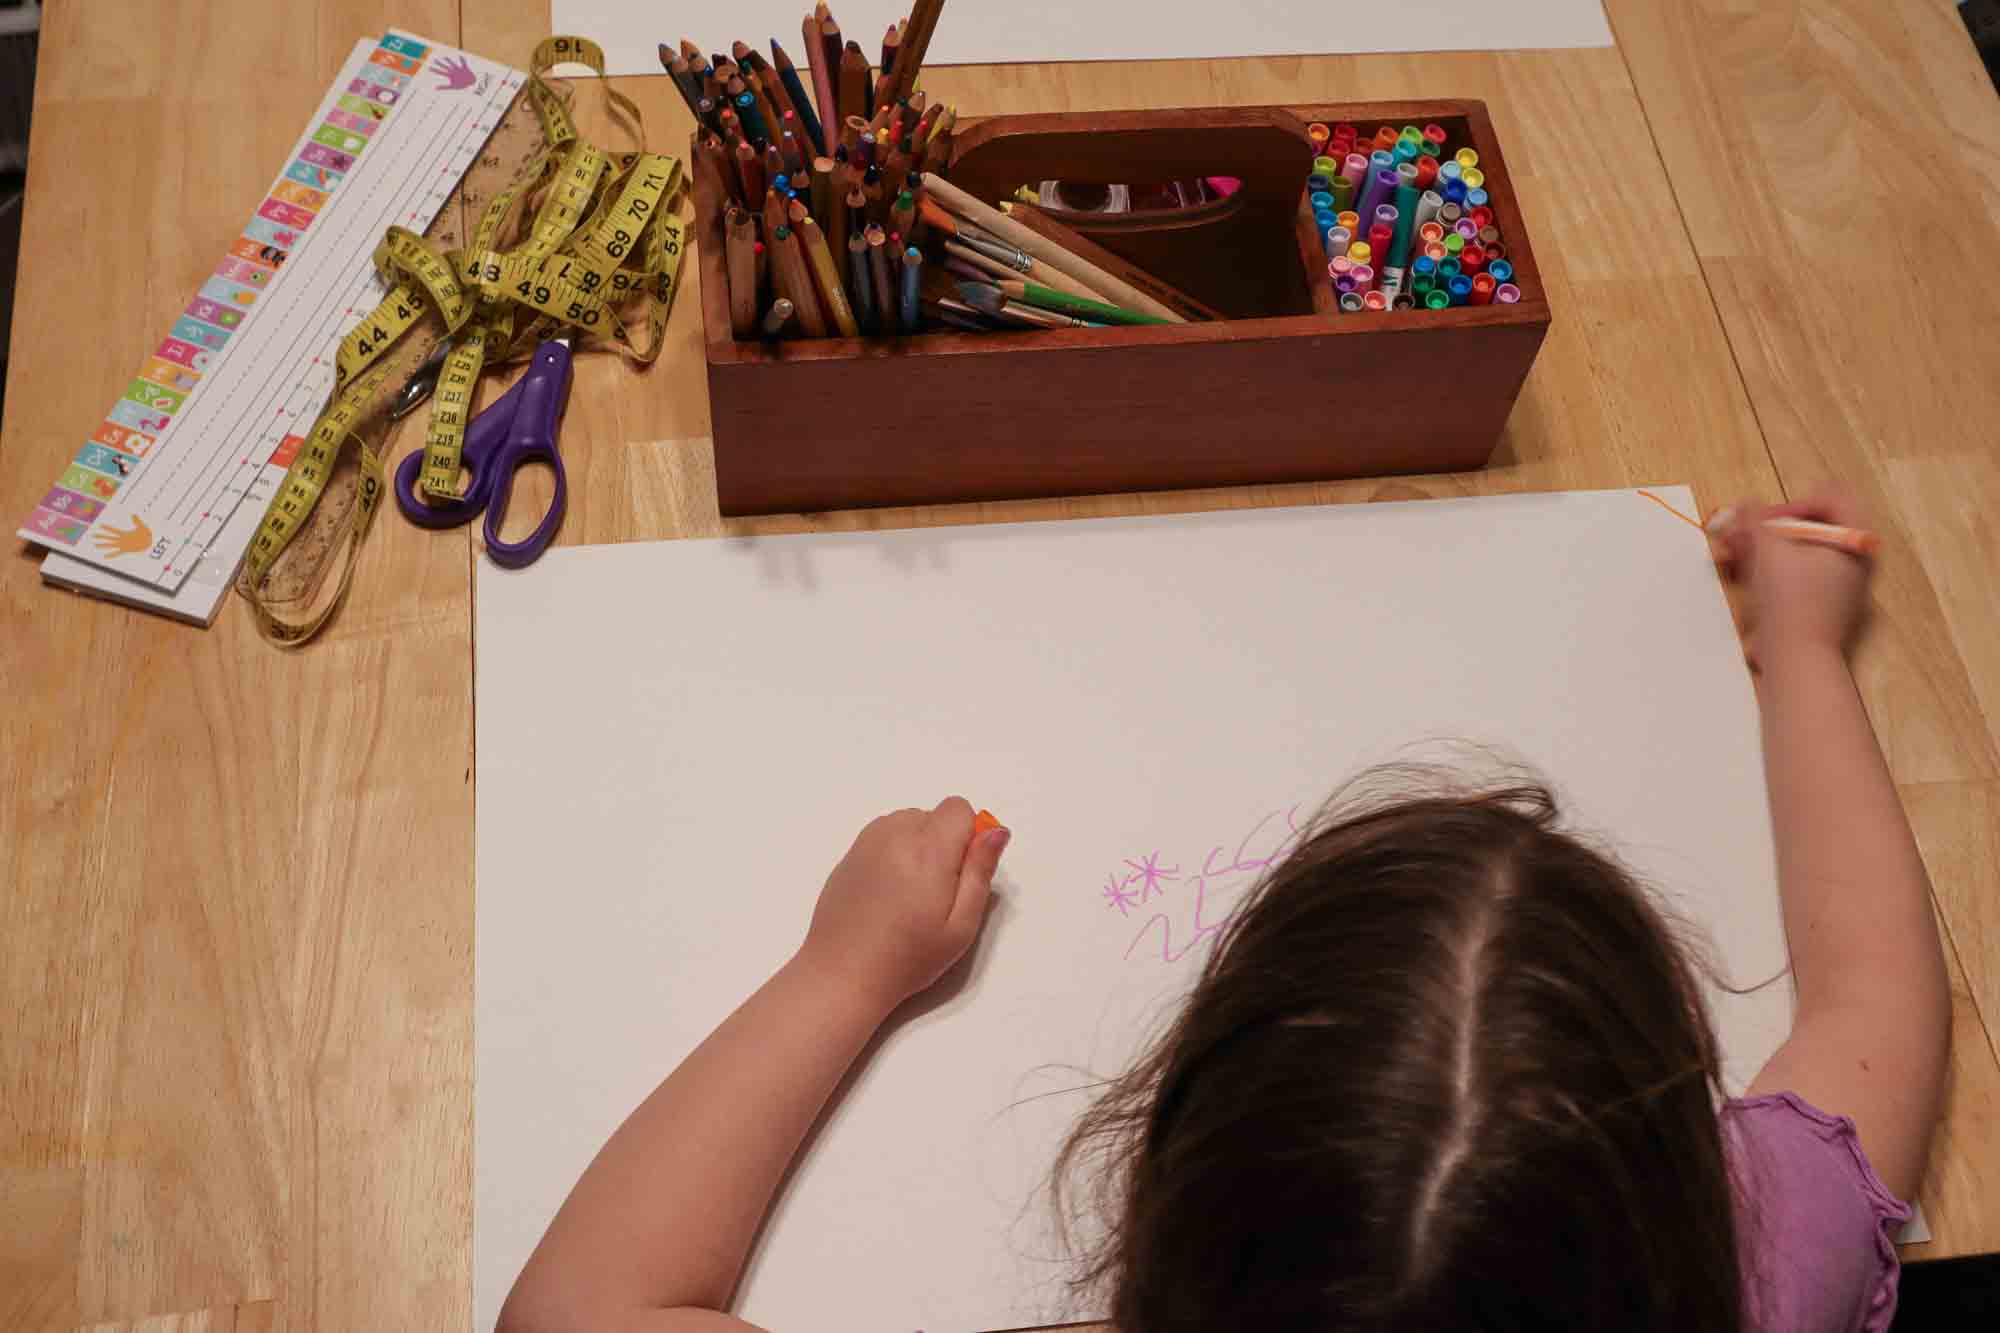
- Have Your Child Decorate Their Placemat
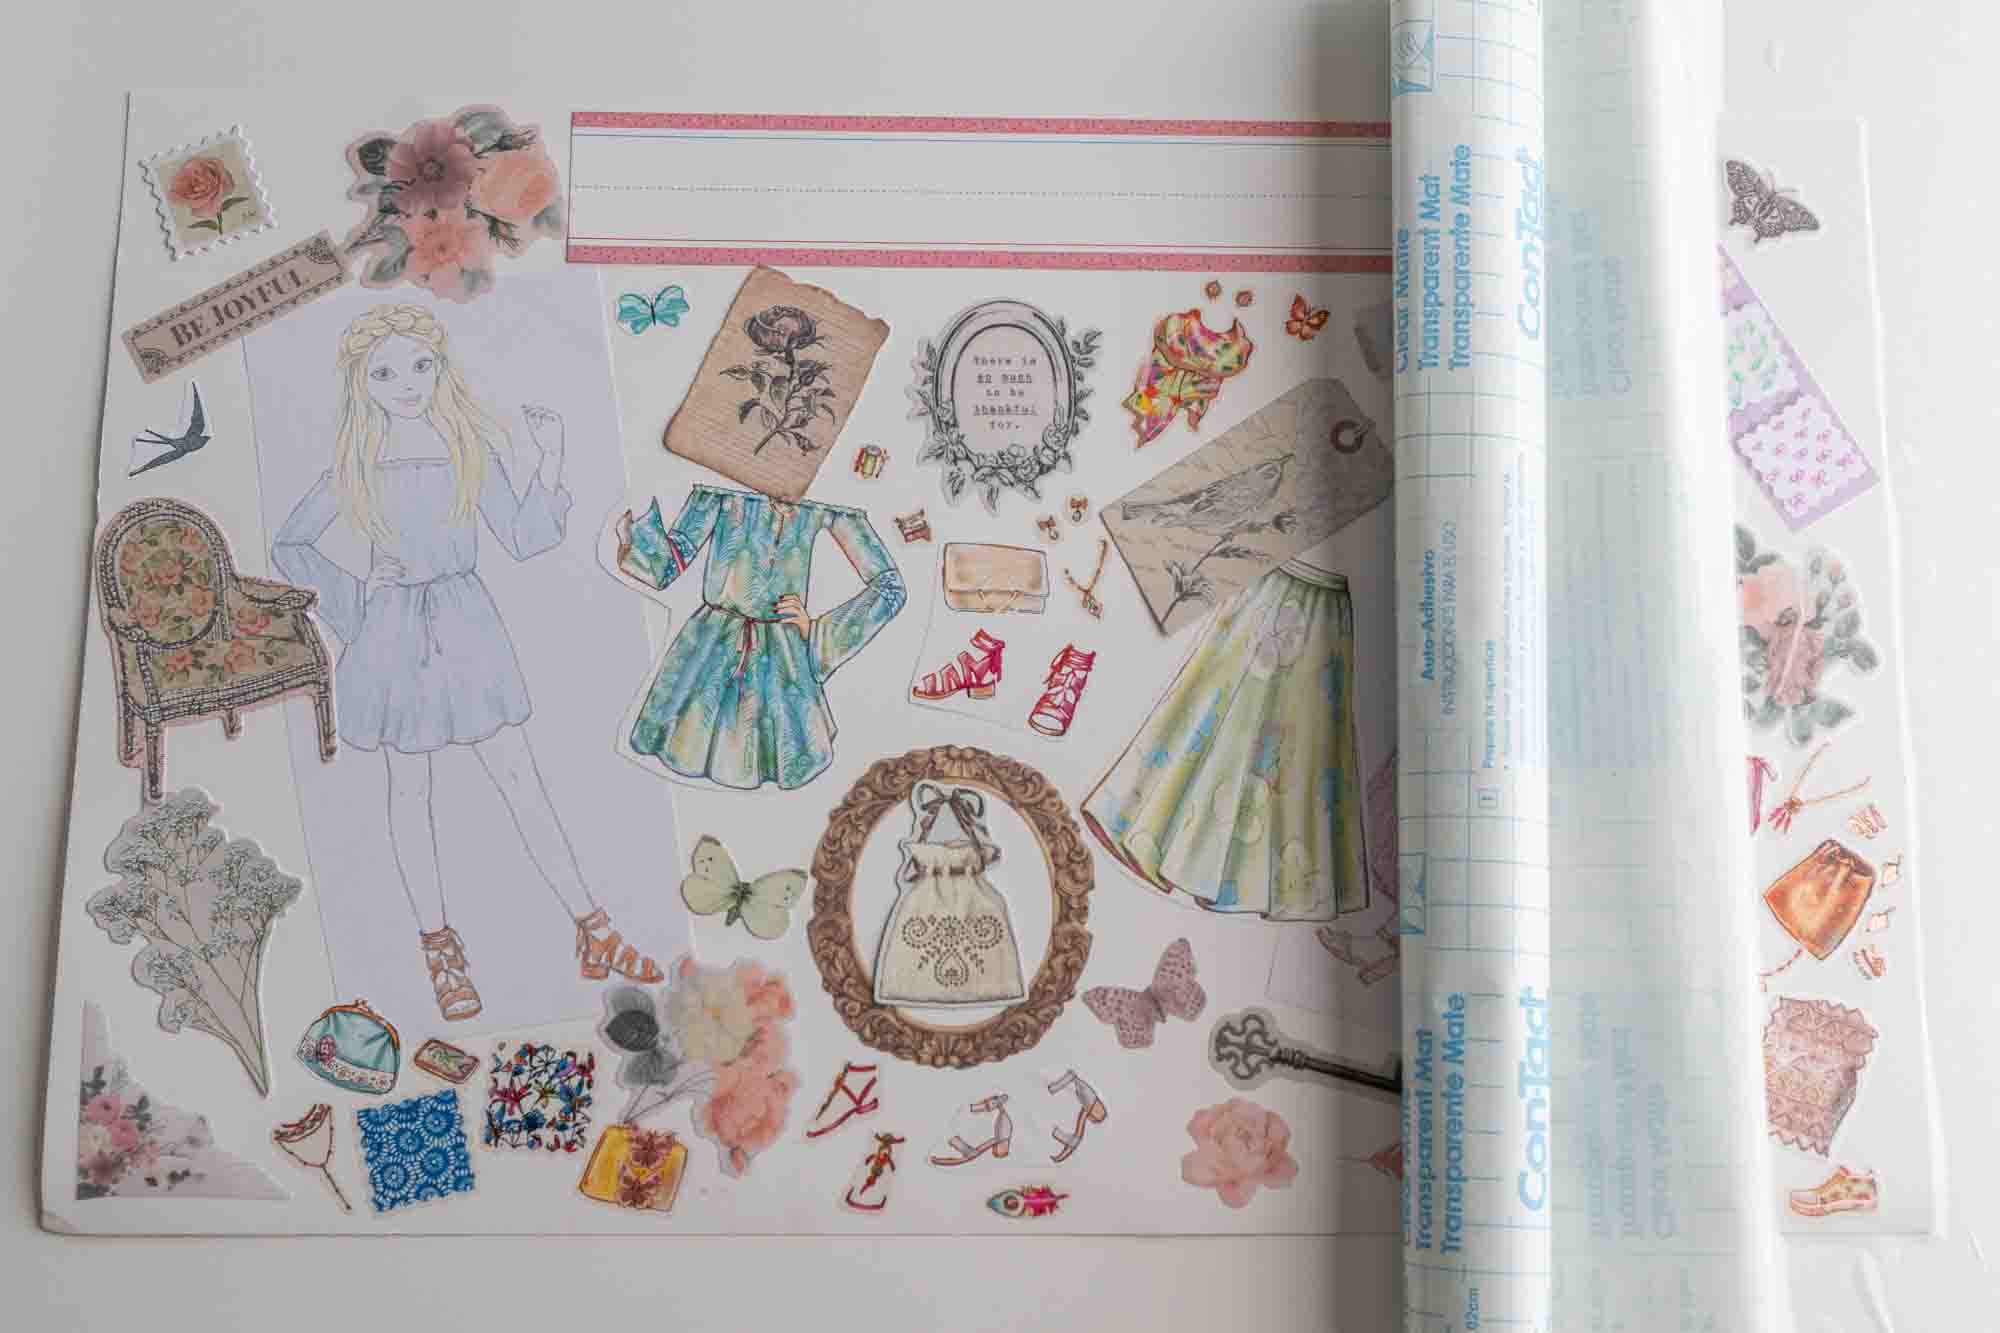
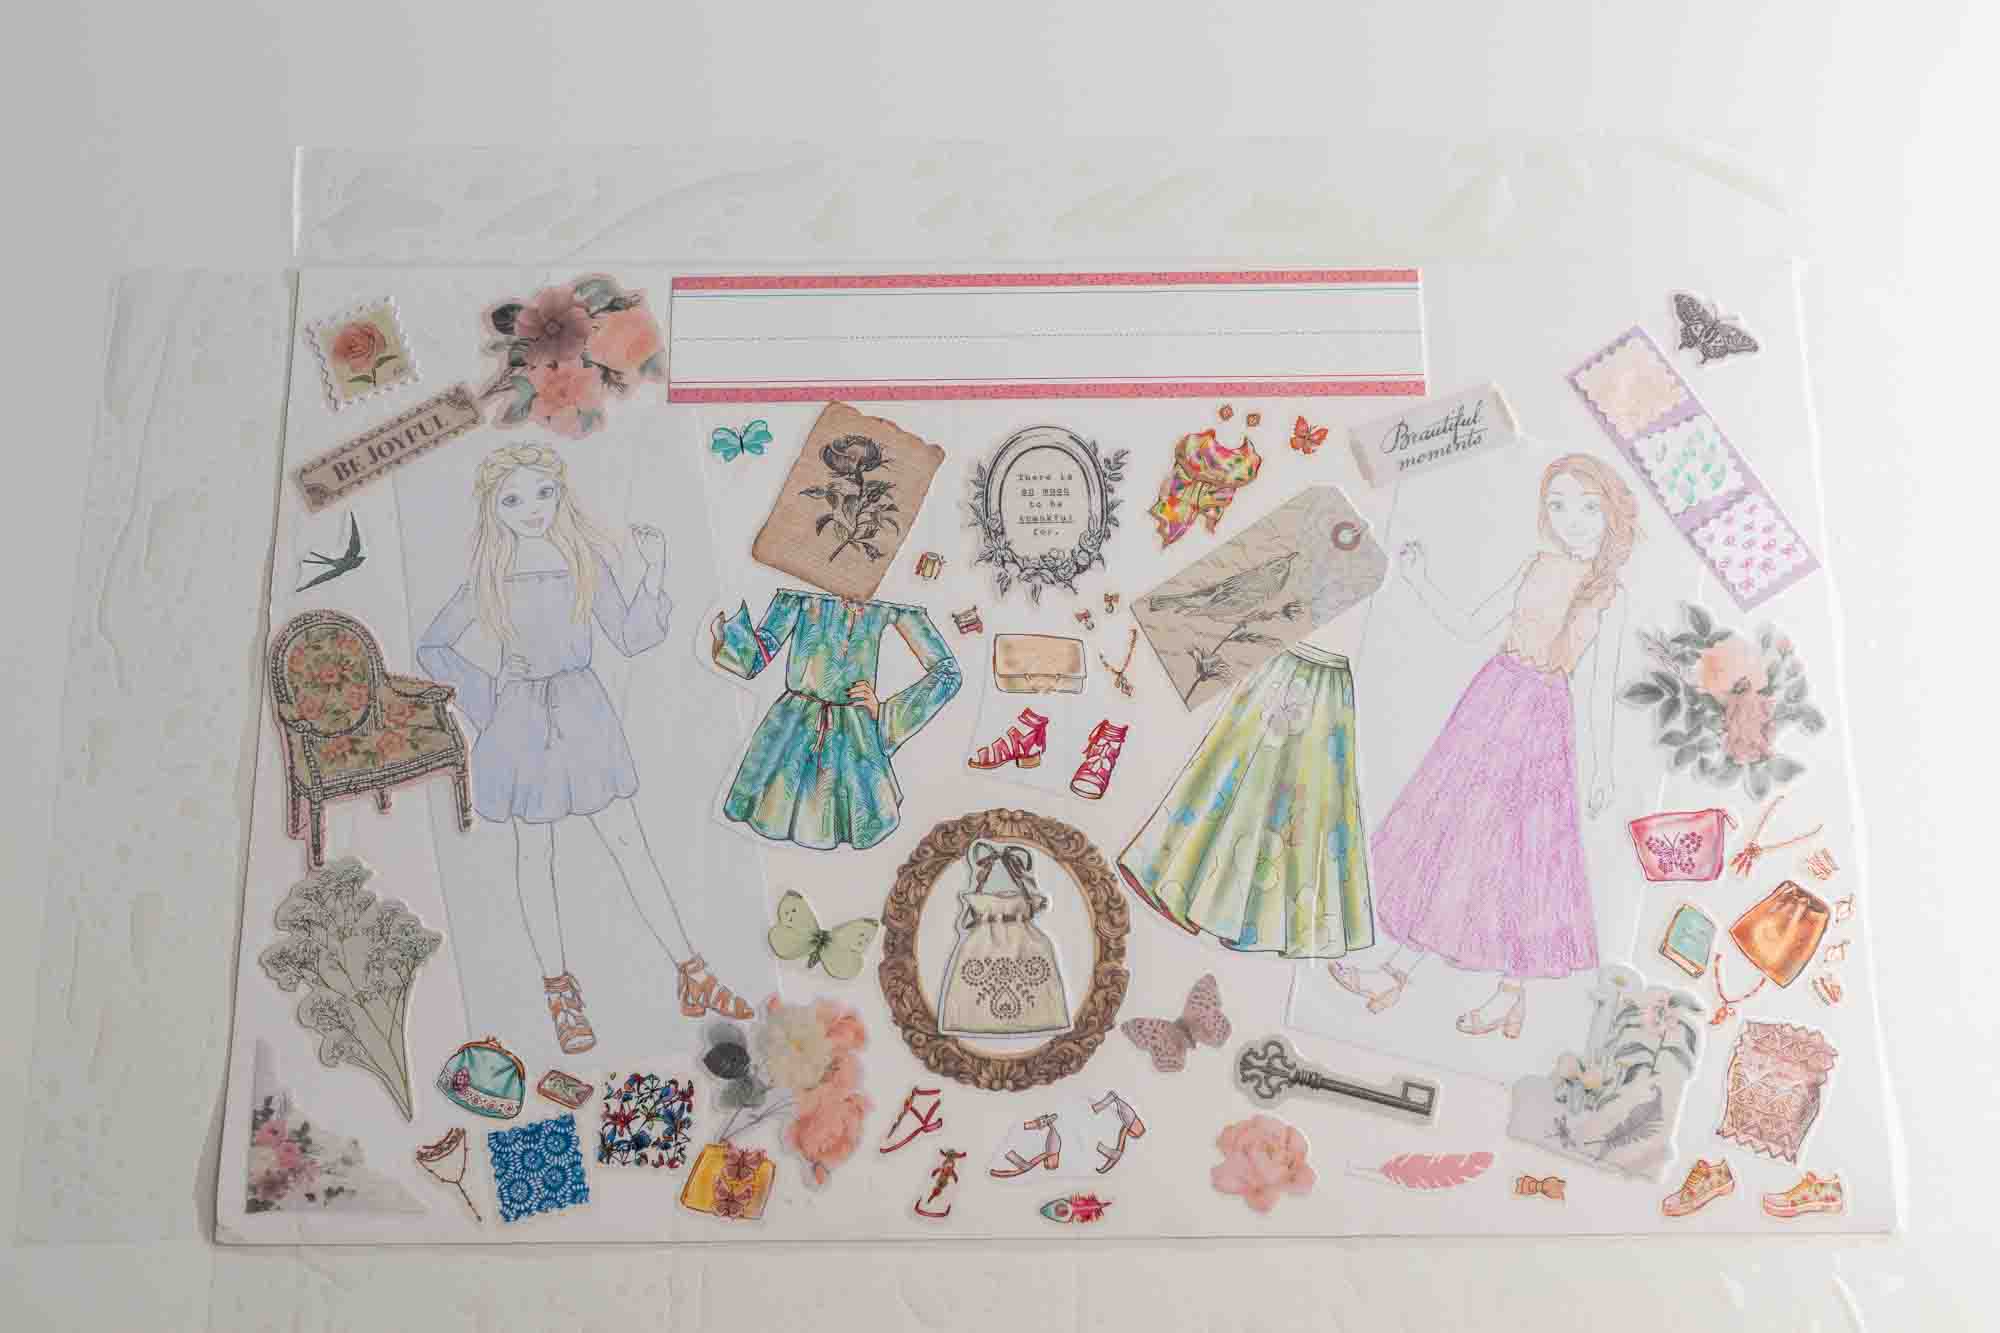
Now comes the fun part: decorating the placemat! When using a poster board, there is a shiny side and a matte side. Use the matte side for your artwork (This will be the top of your placemat design). You can use any art supplies that your child likes to draw best with, such as crayons, markers, paint, or watercolor.
- Finishing Front
After your child’s artwork is finished and dry (if using paint or watercolor), write the child’s name in large print, or cursive, depending on what the child is learning, at the top and centered. I like to use a paper nameplate as it has preprinted writing lines for proper letter placement. You can place your child’s daily schedule or homeschool schedule along the right side of the placemat, or leave the top of the placemat clear aside from your child’s artwork and name.
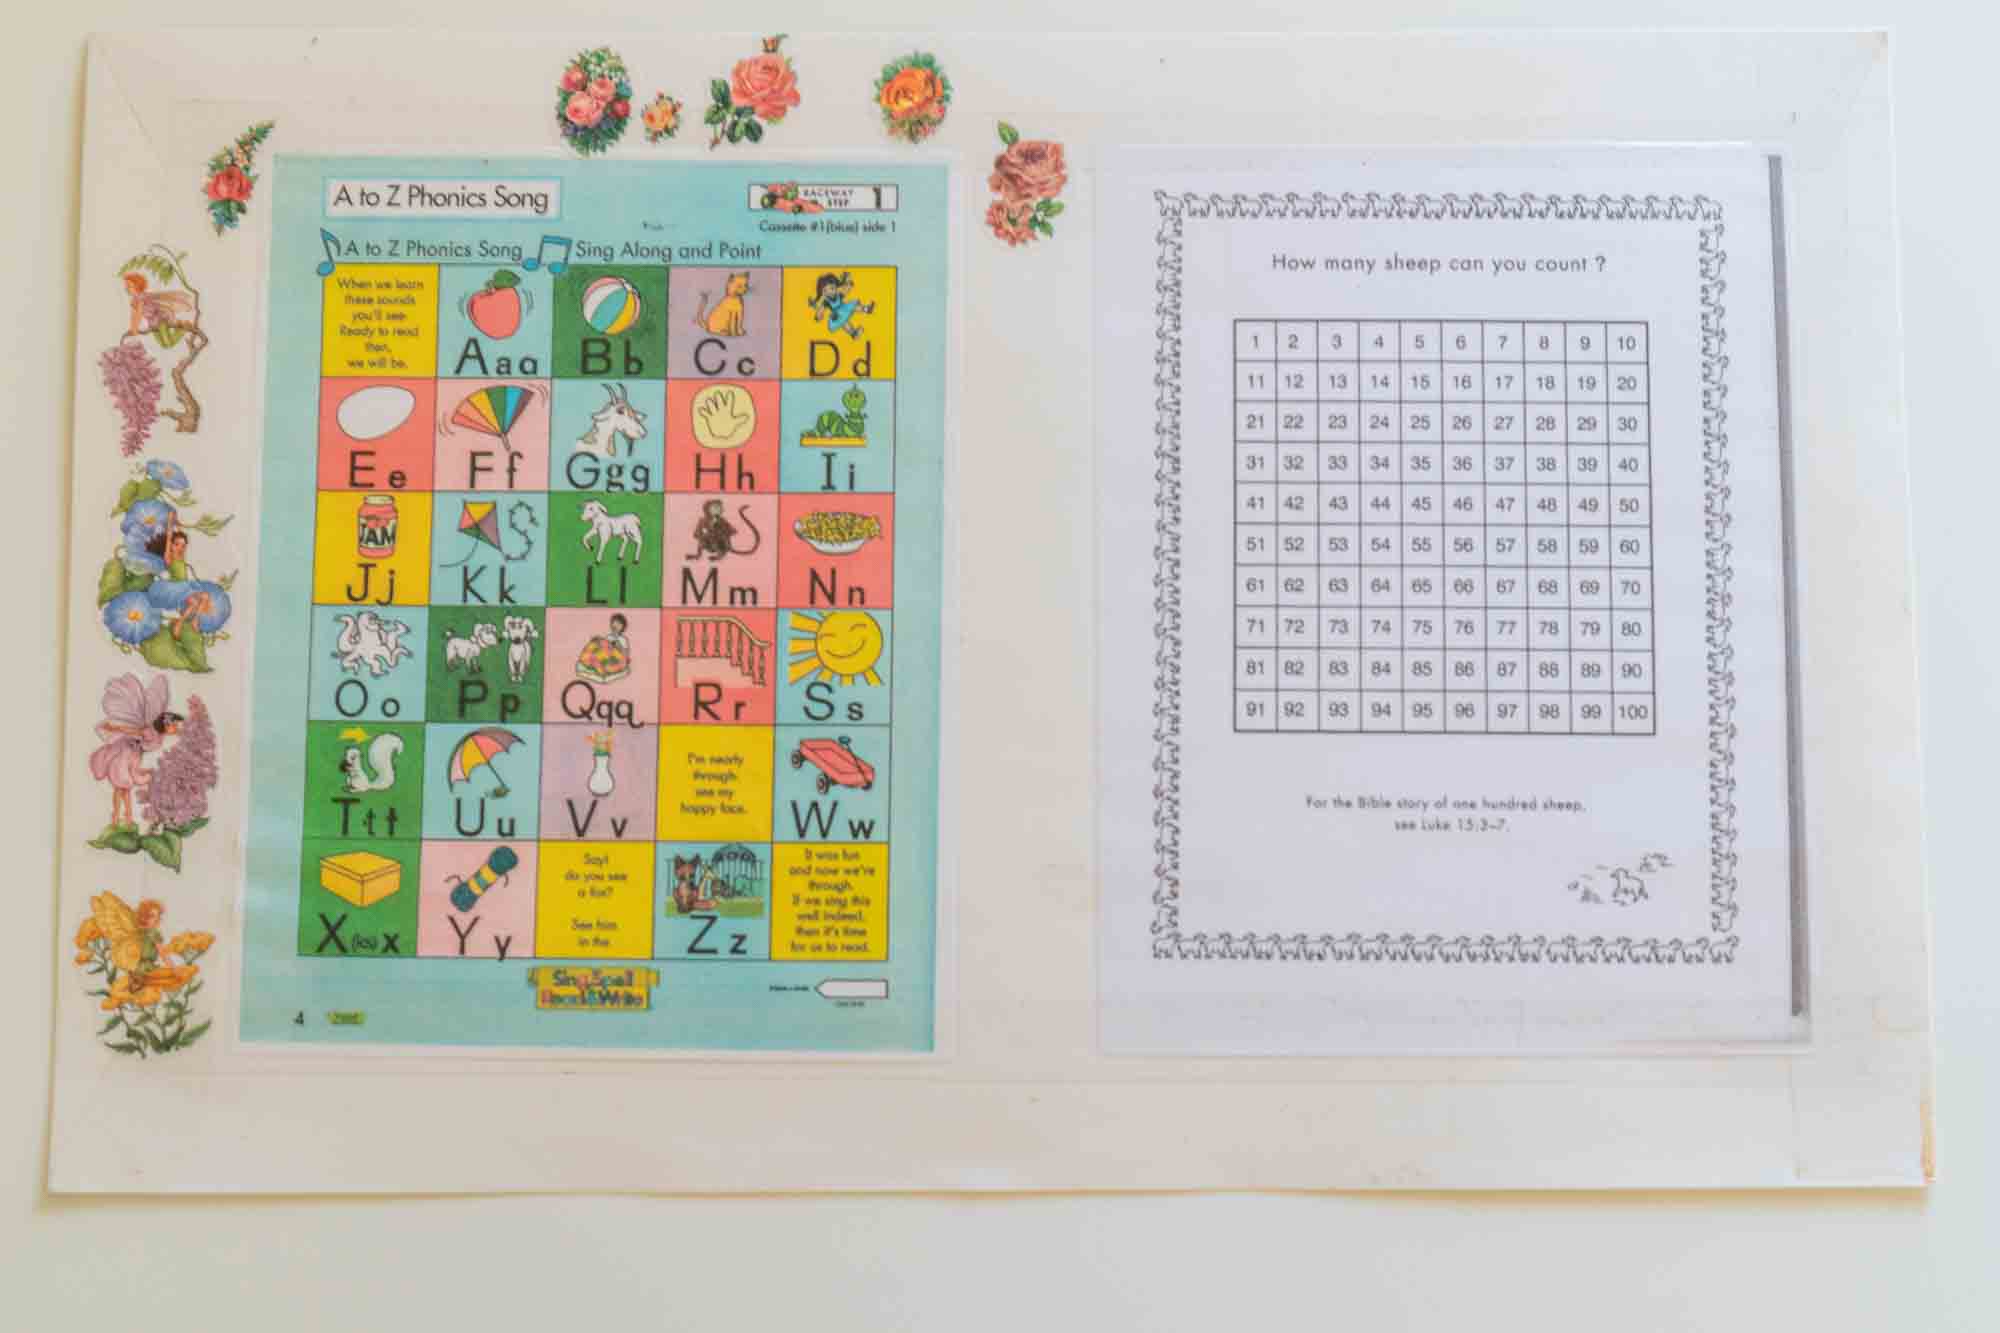
- Placemat Back
For the Back of the placemat, I like to add educational sheets that I print out or save from the child’s curriculum such as: a number line, alphabet, colors and shapes, states and capitals, world map, multiplication chart, sight words, 12-month calendar, days of the week, cursive writing chart, and punctuation charts, to name a few. Customize this space to your child’s age and the material being covered for the school year. You want this space to hold resources that will be used daily throughout your child’s current school year. This is a great way to keep these resources readily available for daily use.
- Laminating
Once your child has finished decorating their placemat and you have added educational materials, then it is time to laminate the placemat to protect it for the school year.
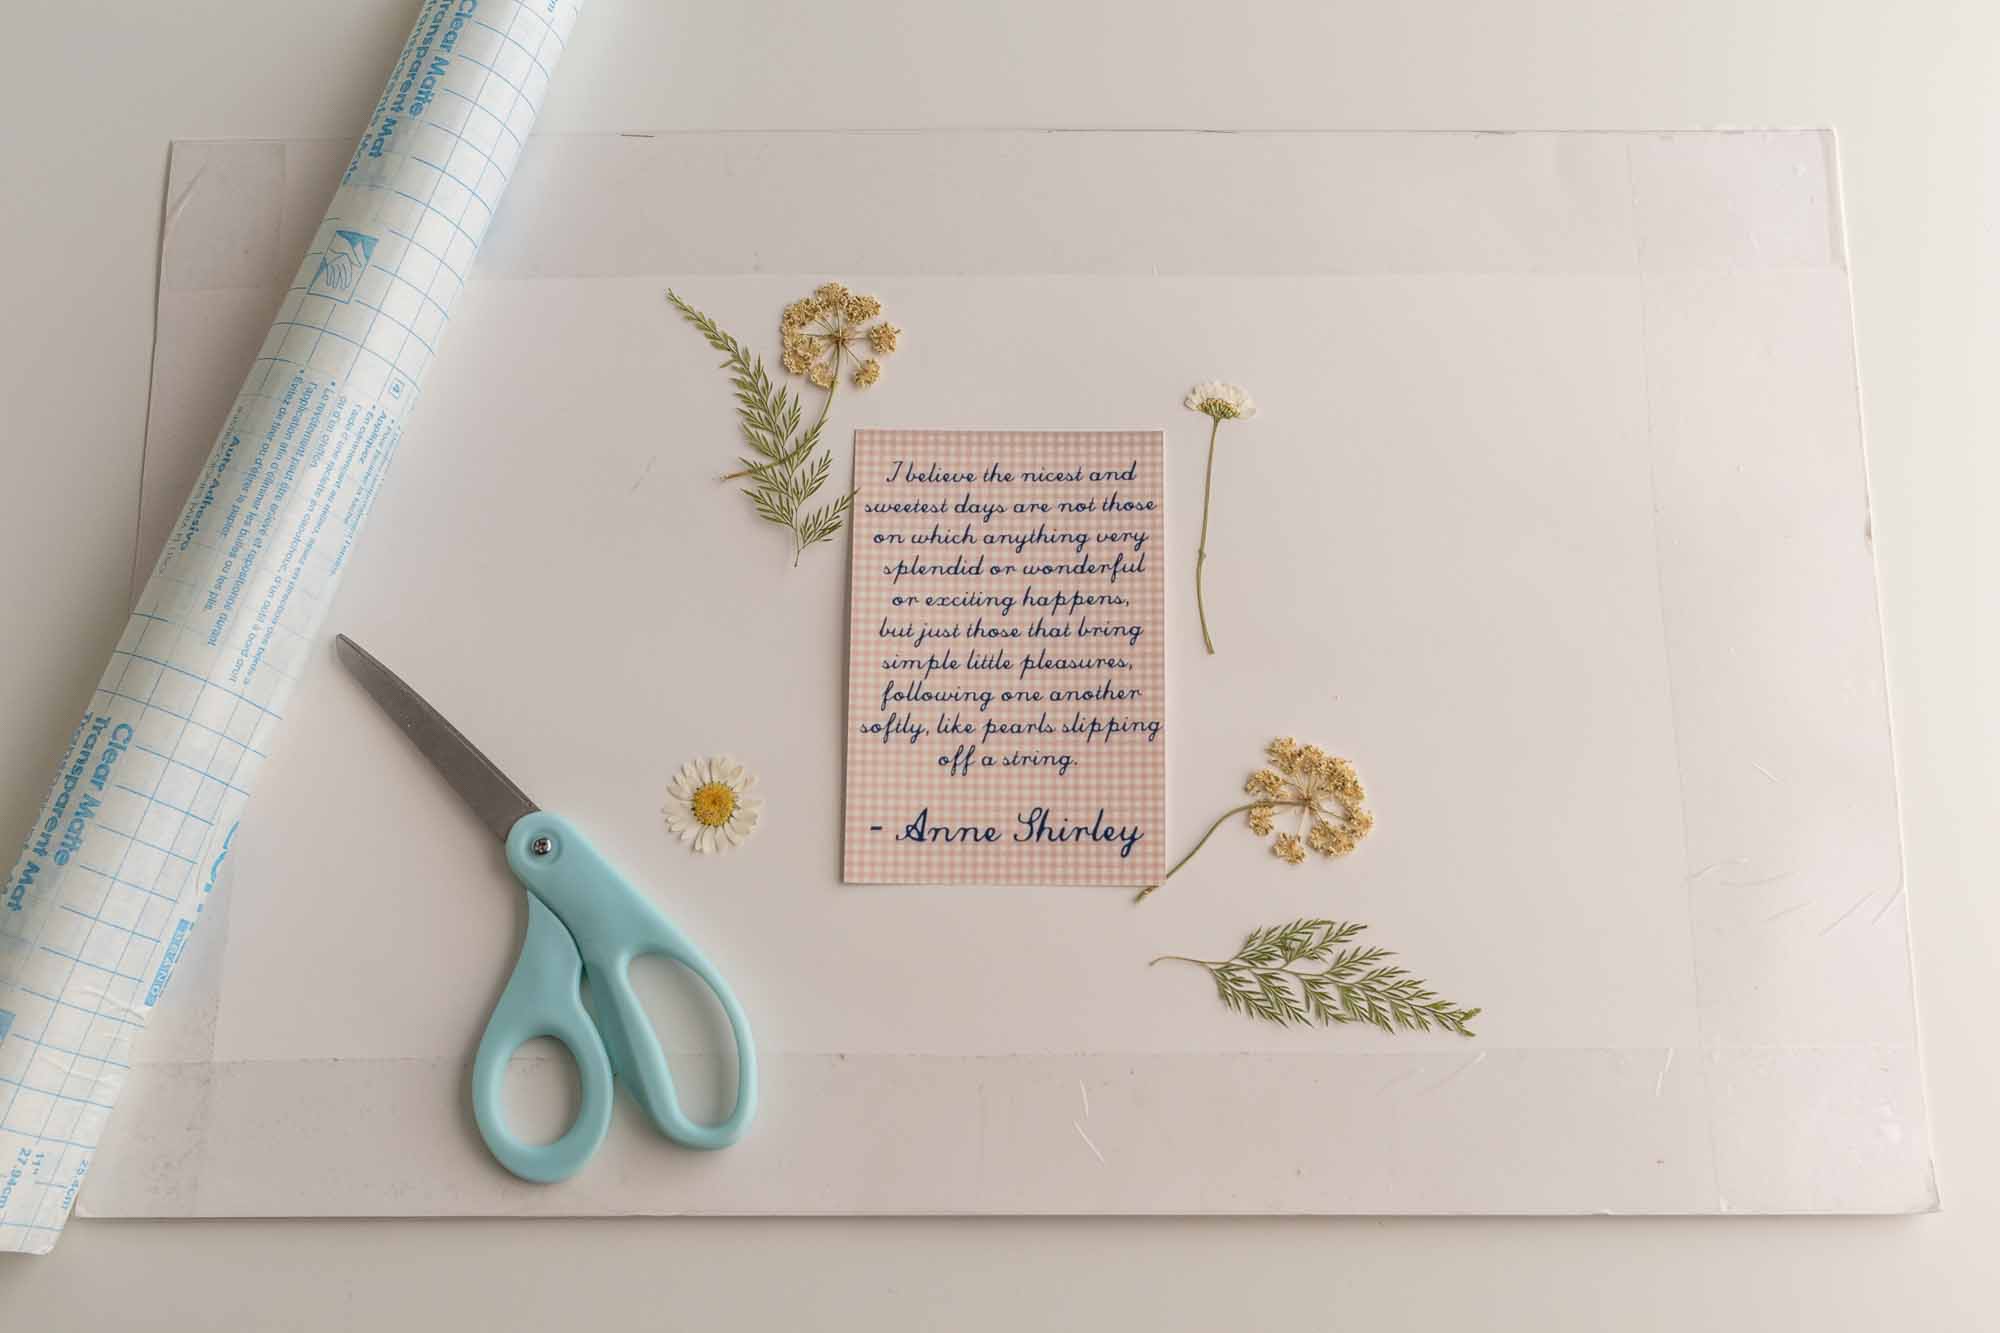
To laminate the placemat using clear adhesive contact paper, start by measuring your placemat and making sure the contact paper overlaps on all sides. Cut the amount you need off the roll, then place the placemat on a clean flat surface with the top side of the mat facing up.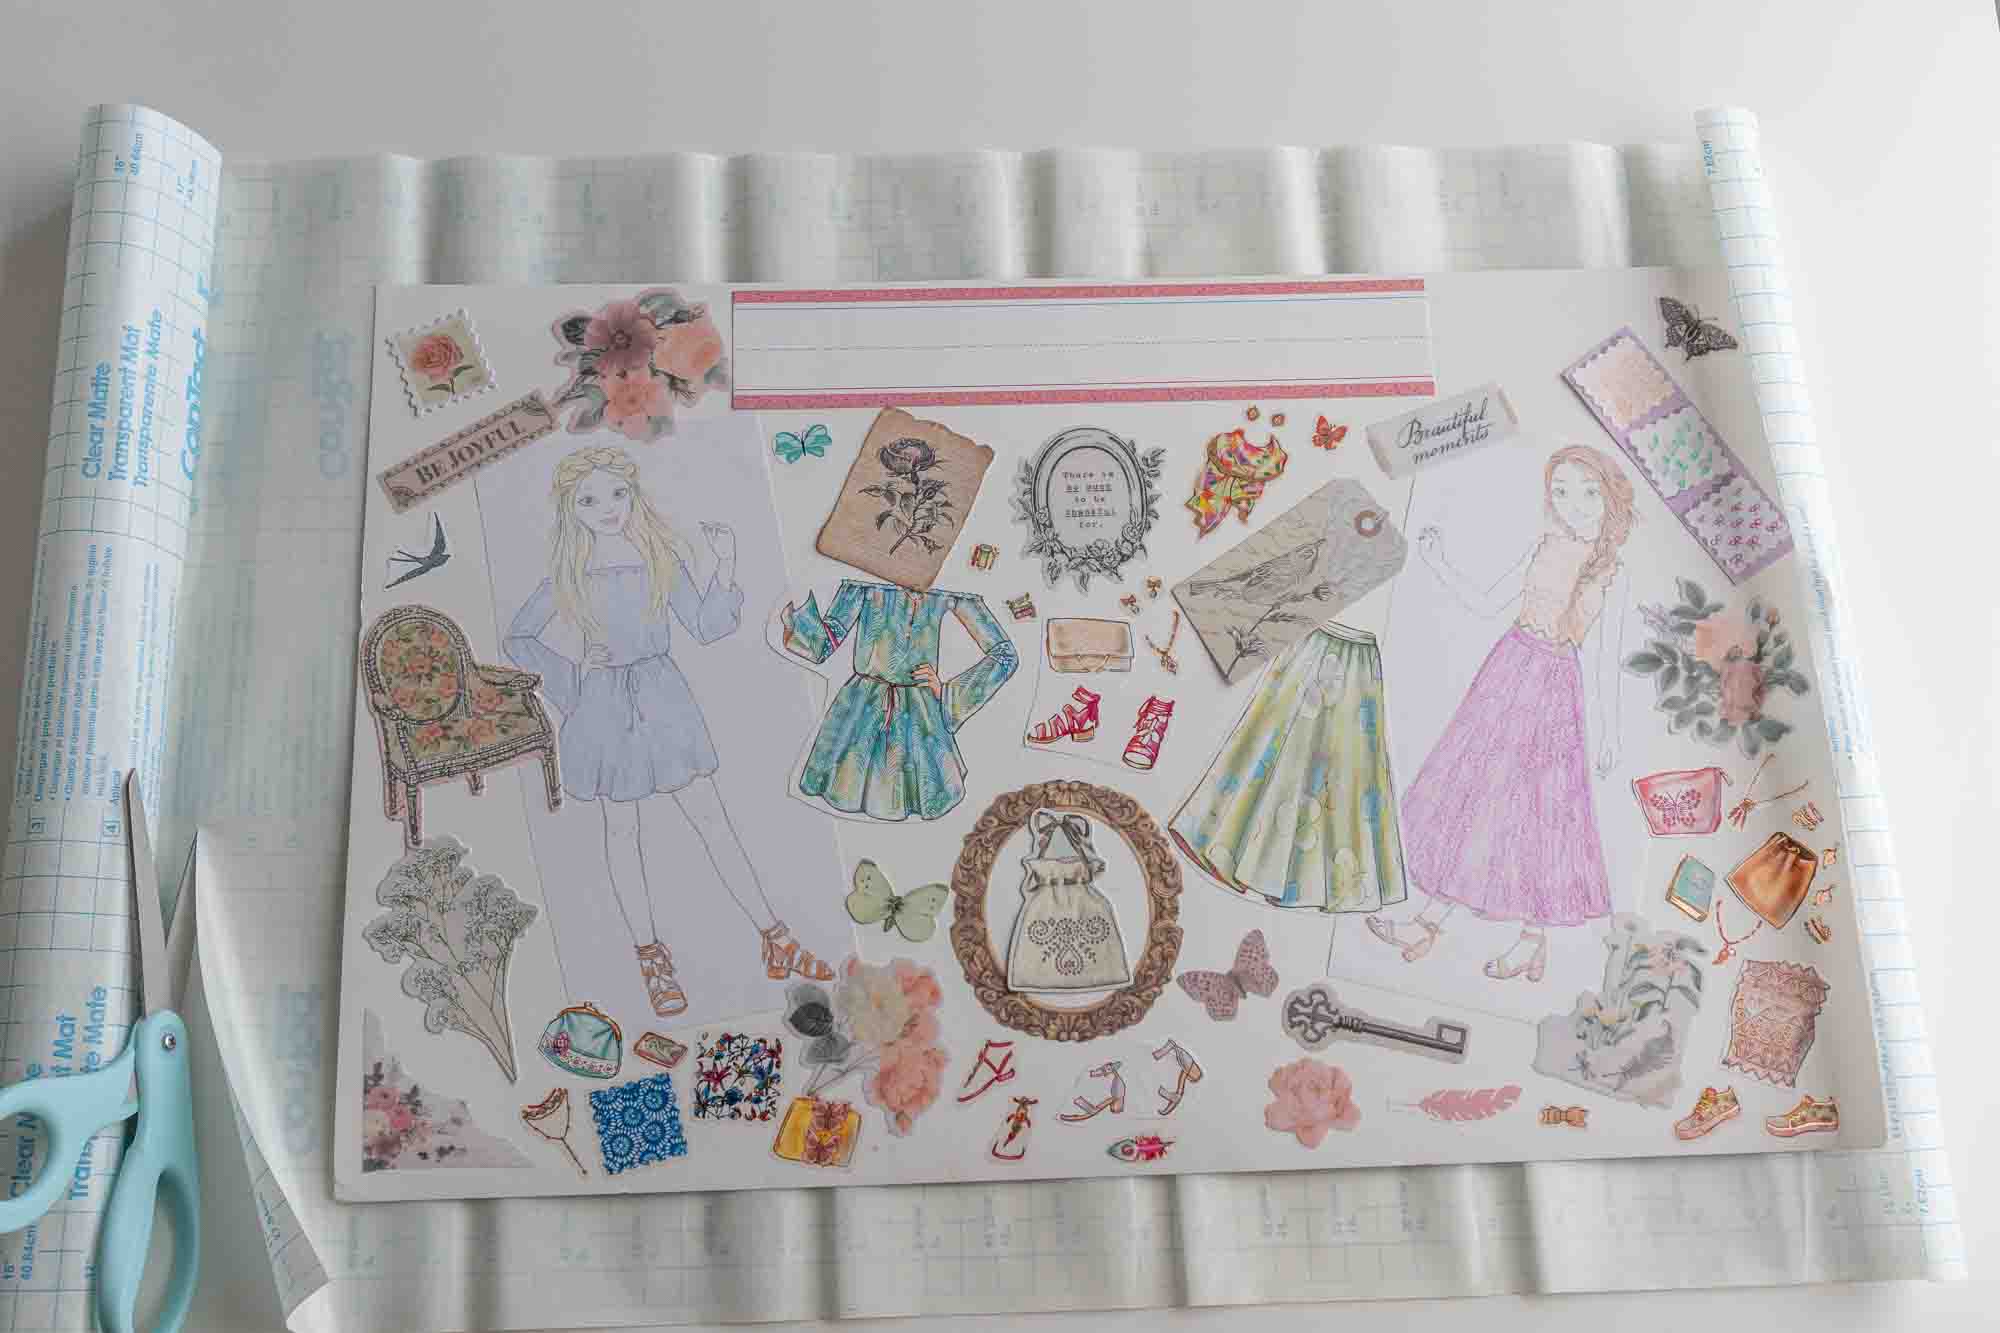
-
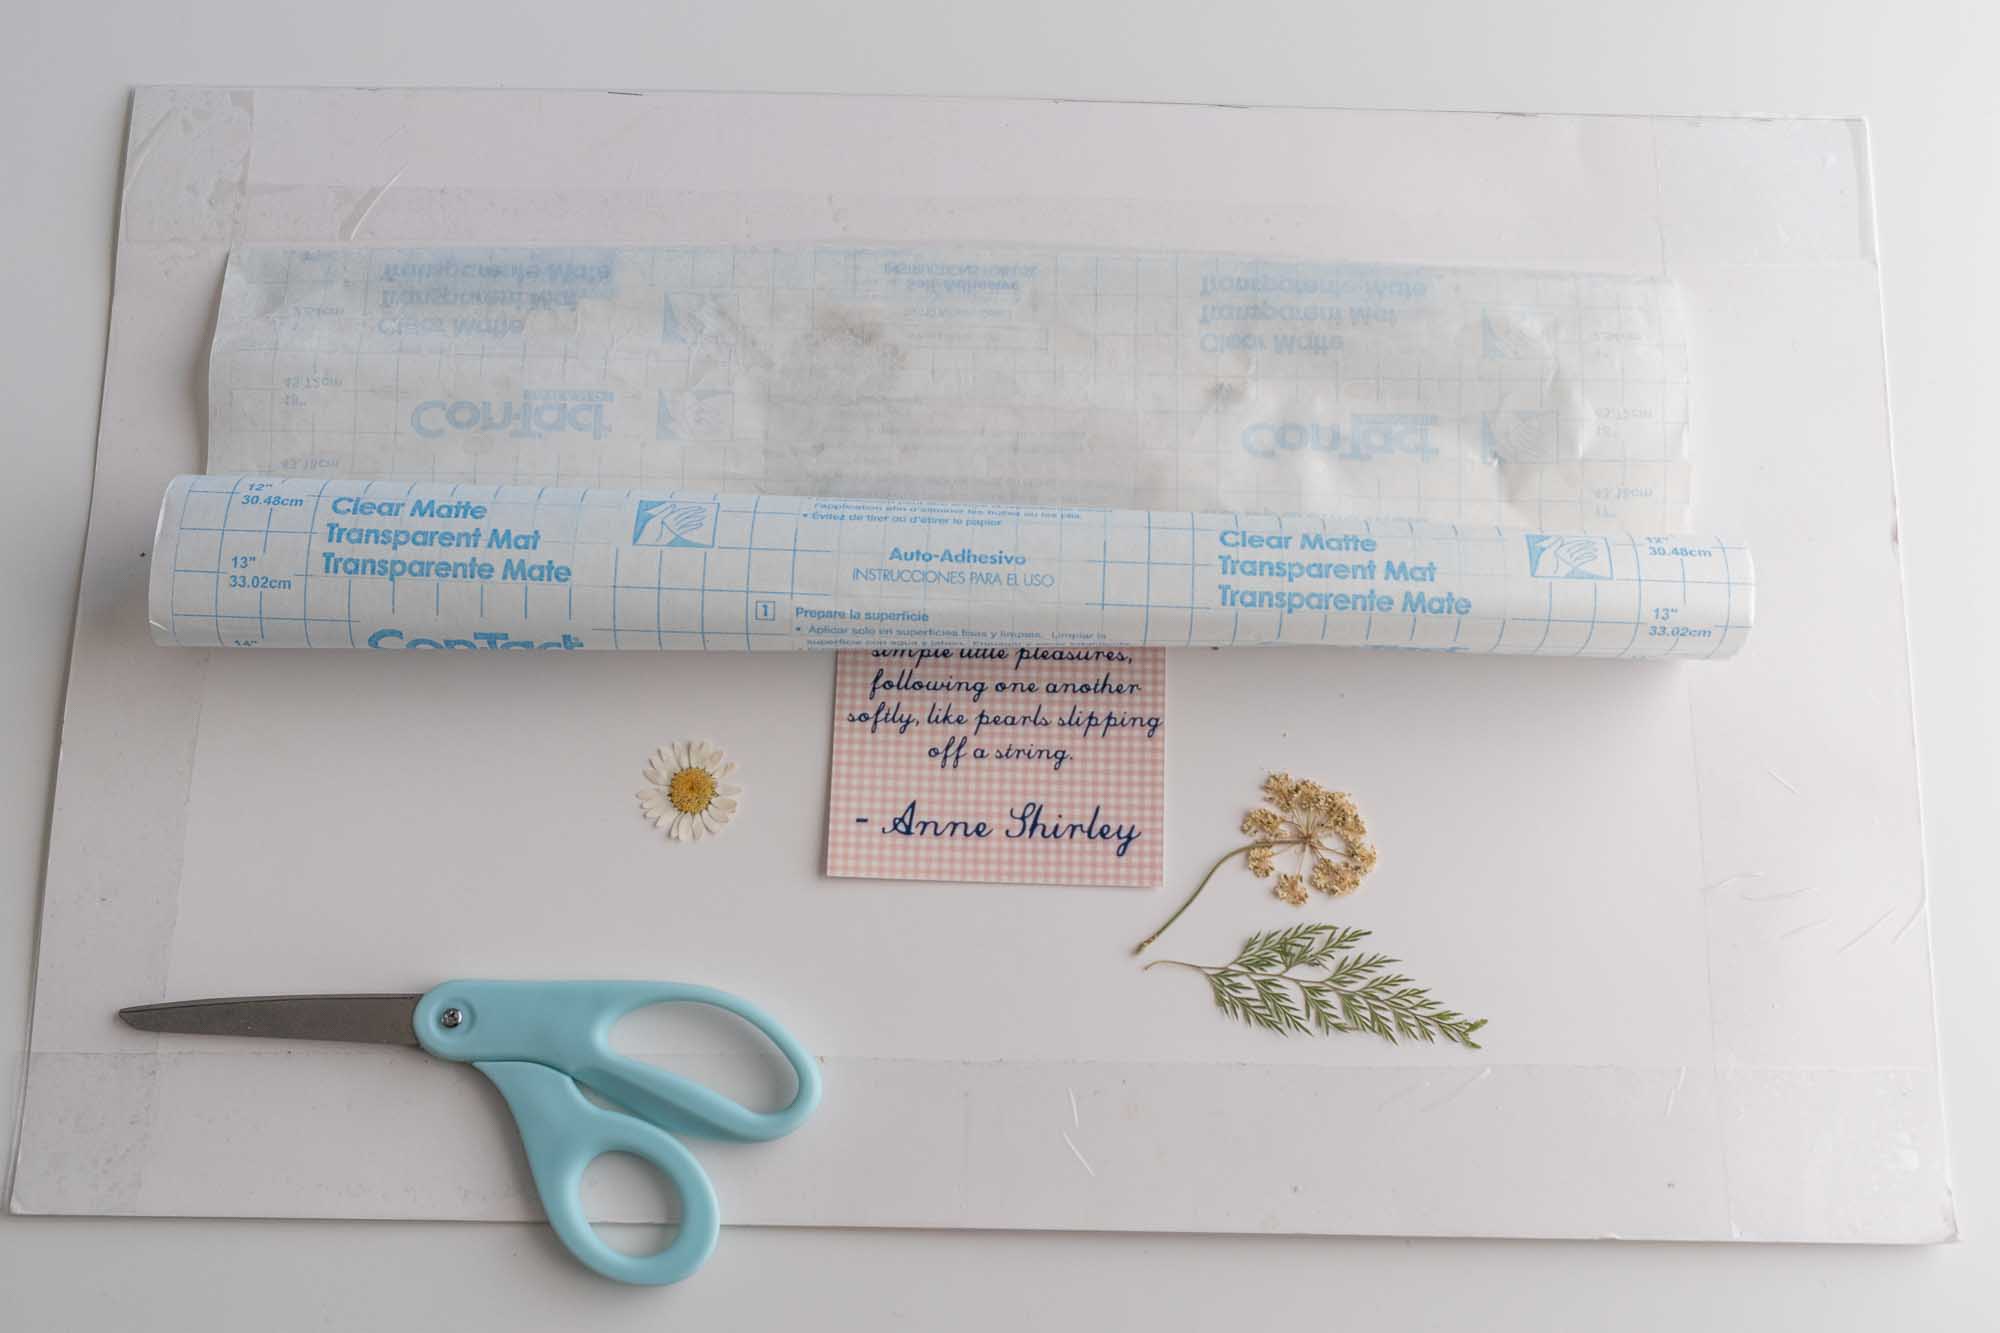
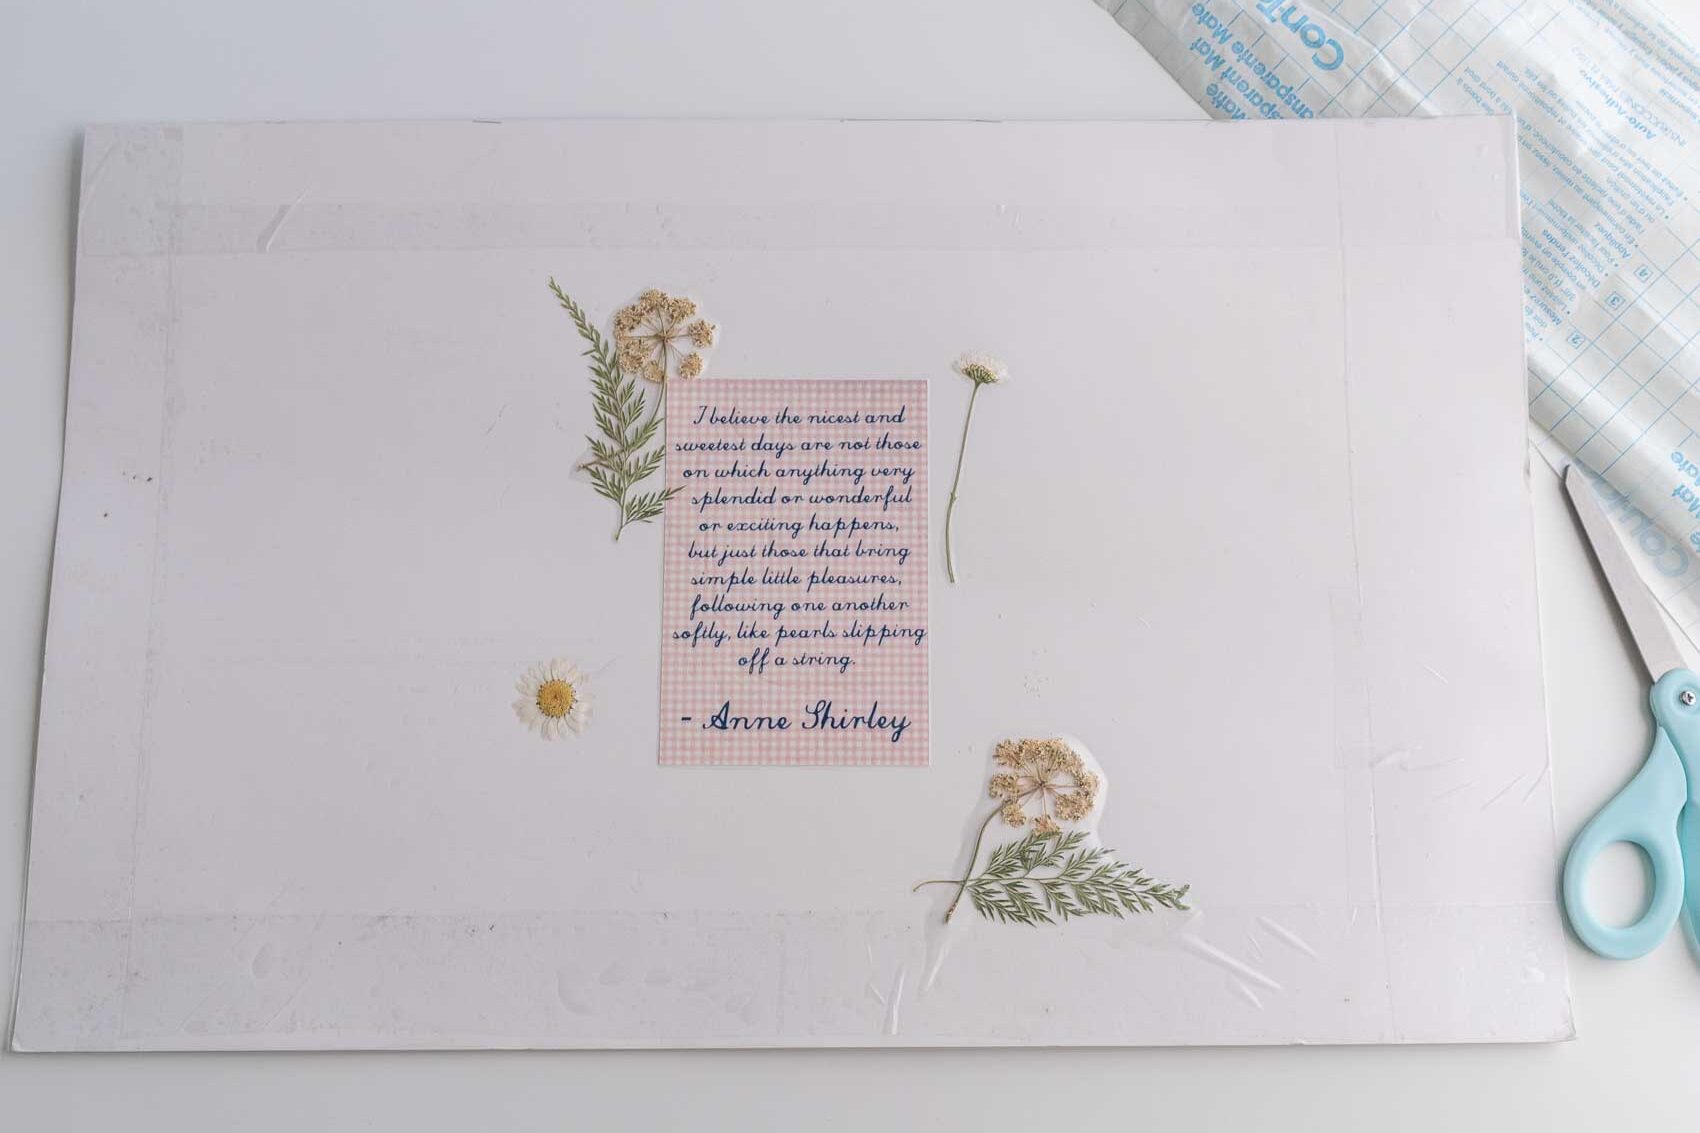
Apply the contact paper in small sections to avoid large creases. To start, fold down 2-4 inches of the backing and place the exposed adhesive on the top portion of one side of the mat (be sure to allow the contact paper to overlap on all sides). The overlapping sections will stick to the table for now. Smooth the sticky side of the contact paper over the placemat, working out any creases. Once the exposed adhesive is smoothed, expose another 2-4 inches and smooth it down, working out any creases. Repeat this process until all of the adhesive contact paper has been smoothed down on the top of the placemat. (You can use a ruler to smooth the contact paper as you go if this is easier for you.)
-
Next, collect your scissors and cut a square out of the contact paper at each corner. Then pull the placemat off the hard surface and flip it over with the backside facing up.
-
Carefully fold down both sides, then fold down the top and bottom sides, smoothing out any creases as you go.
-
Once the sides are folded down, cut another square for the remaining unlaminated portion of the back of the mat.
-
Take the portion of contact paper that you cut for the exposed back portion and fold over a 1-2 inch portion of the contact paper. Place it at the top of your unlaminated area and fold it down in sections, smoothing as you go to avoid large creases.
-
Once the placemat is laminated, you are done! Place the complete mat on your dining room table or homeschool table and use it through the school year. When the next school year arrives, you can create a new placemat. This is a fun way to start each new school year. Don’t forget to take pictures of your child and their mat each year to see how they change as your child grows.
Check out the instruction card below and connect with me in the comments to share how your placemats turned out! Happy crafting!
DIY Kids Homeschool School Year Placemats Easy Art Project
One of my favorite ways to start off the school year is to have my kids make their own placemat for the year. These placemats are made using a white poster board divided into two placemats. Children can decorate the front of their placemats in a variety of ways, and educational sheets can be added to the backside for daily use. The placemat is then covered in contact paper to preserve it for the school year.
Materials
- White poster board (makes two placemats) or a thick large piece of paper (watercolor paper or mixed media paper)
- Stickers (opt.)
- Paper nameplate (opt.)
- Printed teaching materials (opt.)
- Clear adhesive contact paper or take your project in to be laminated
Tools
- Pencil
- Craft Supplies; markers, crayons, watercolor, or colored pencils
- Glue stick
- Ruler or measuring tape
- Scissors
Instructions
- Start by measuring to find the middle of the longest side of your poster board (14 inches), and make marks with your pencil for cutting as you measure out the halfway mark with your measuring tape. Once you have enough marks to cut a straight line through the poster board, cut along your measured lines to separate the two placemats.
- Now comes the fun part: decorating the placemat! When using a poster board, there is a shiny side and a matte side. Use the matte side for your artwork (This will be the top of your placemat design). You can use any art supplies that your child likes to draw best with, such as crayons, markers, paint, or watercolor.
- After your child's artwork is finished and dry (if using paint or watercolor), write the child's name in large print, or cursive, depending on what the child is learning, at the top and centered. I like to use a paper nameplate as it has preprinted writing lines for proper letter placement. You can place your child's daily schedule or homeschool schedule along the right side of the placemat, or leave the top of the placemat clear aside from your child's artwork and name.
- For the Back of the placemat, I like to add educational sheets that I print out or save from the child's curriculum such as: a number line, alphabet, colors and shapes, states and capitals, world map, multiplication chart, sight words, 12-month calendar, days of the week, cursive writing chart, and punctuation charts, to name a few. Customize this space to your child's age and the material being covered for the school year. You want this space to hold resources that will be used daily throughout your child's current school year. This is a great way to keep these resources readily available for daily use.
- Once your child has finished decorating their placemat and you have added educational materials, then it is time to laminate the placemat to protect it for the school year. To laminate the placemat using clear adhesive contact paper, start by measuring your placemat and making sure the contact paper overlaps on all sides. Cut the amount you need off the roll, then place the placemat on a clean flat surface with the top side of the mat facing up.
- Apply the contact paper in small sections to avoid large creases. To start, fold down 2-4 inches of the backing and place the exposed adhesive on the top portion of one side of the mat (be sure to allow the contact paper to overlap on all sides). The overlapping sections will stick to the table for now. Smooth the sticky side of the contact paper over the placemat, working out any creases. Once the exposed adhesive is smoothed, expose another 2-4 inches and smooth it down, working out any creases. Repeat this process until all of the adhesive contact paper has been smoothed down on the top of the placemat. (You can use a ruler to smooth the contact paper as you go if this is easier for you.)
- Next, collect your scissors and cut a square out of the contact paper at each corner. Then pull the placemat off the hard surface and flip it over with the backside facing up.
- Carefully fold down both sides, then fold down the top and bottom sides, smoothing out any creases as you go.
- Once the sides are folded down, cut another square for the remaining unlaminated portion of the back of the mat.
- Take the portion of contact paper that you cut for the unlaminated back portion and fold over a 1-2 inch portion of the contact paper. Place it at the top of your exposed area and fold it down in sections, smoothing as you go to avoid large creases.
- Once the placemat is laminated, you are done! Place the complete mat on your dining room table or homeschool table and use it through the school year. When the next school year arrives, you can create a new placemat. This is a fun way to start each new school year. Don't forget to take pictures of your child and their mat each year to see how they change as your child grows.
Recommended Products
As an Amazon Associate and member of other affiliate programs, I earn from qualifying purchases.